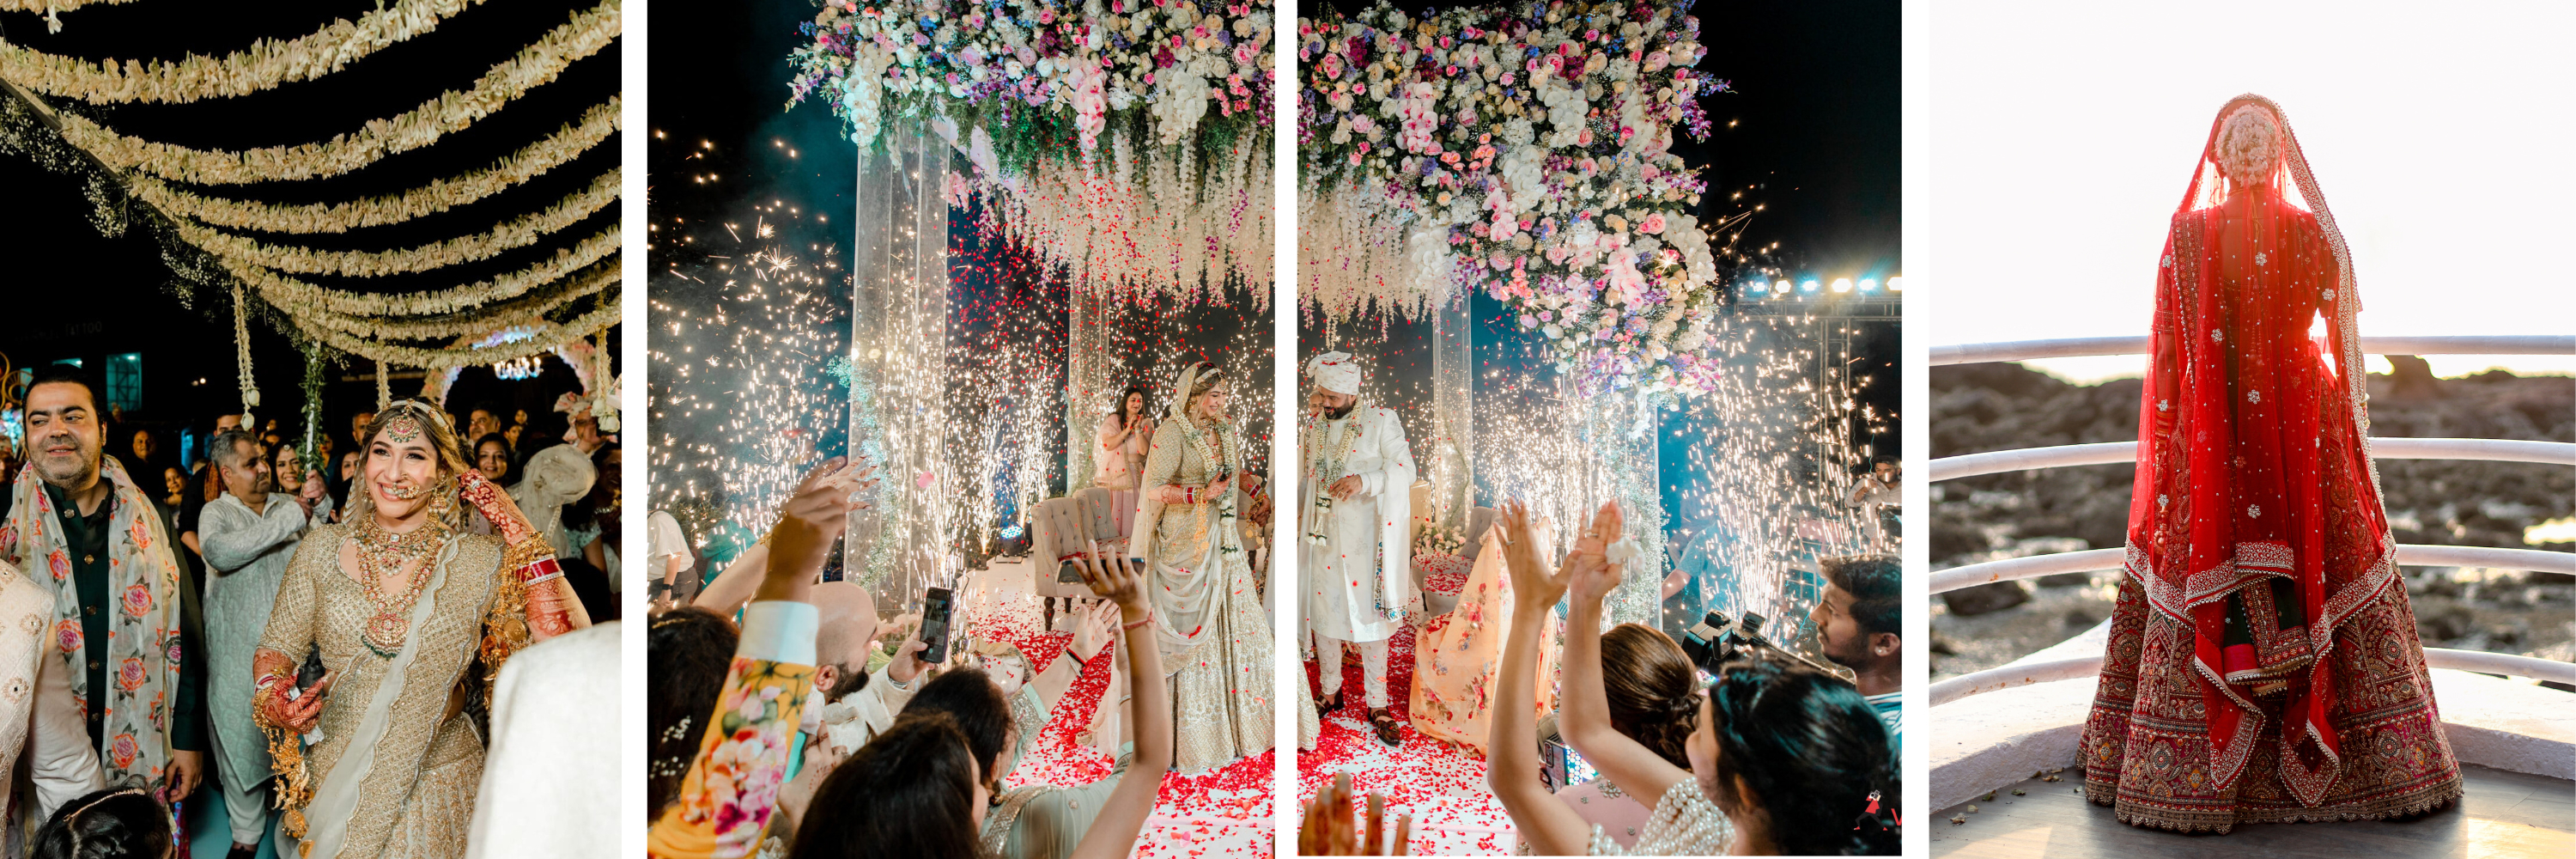
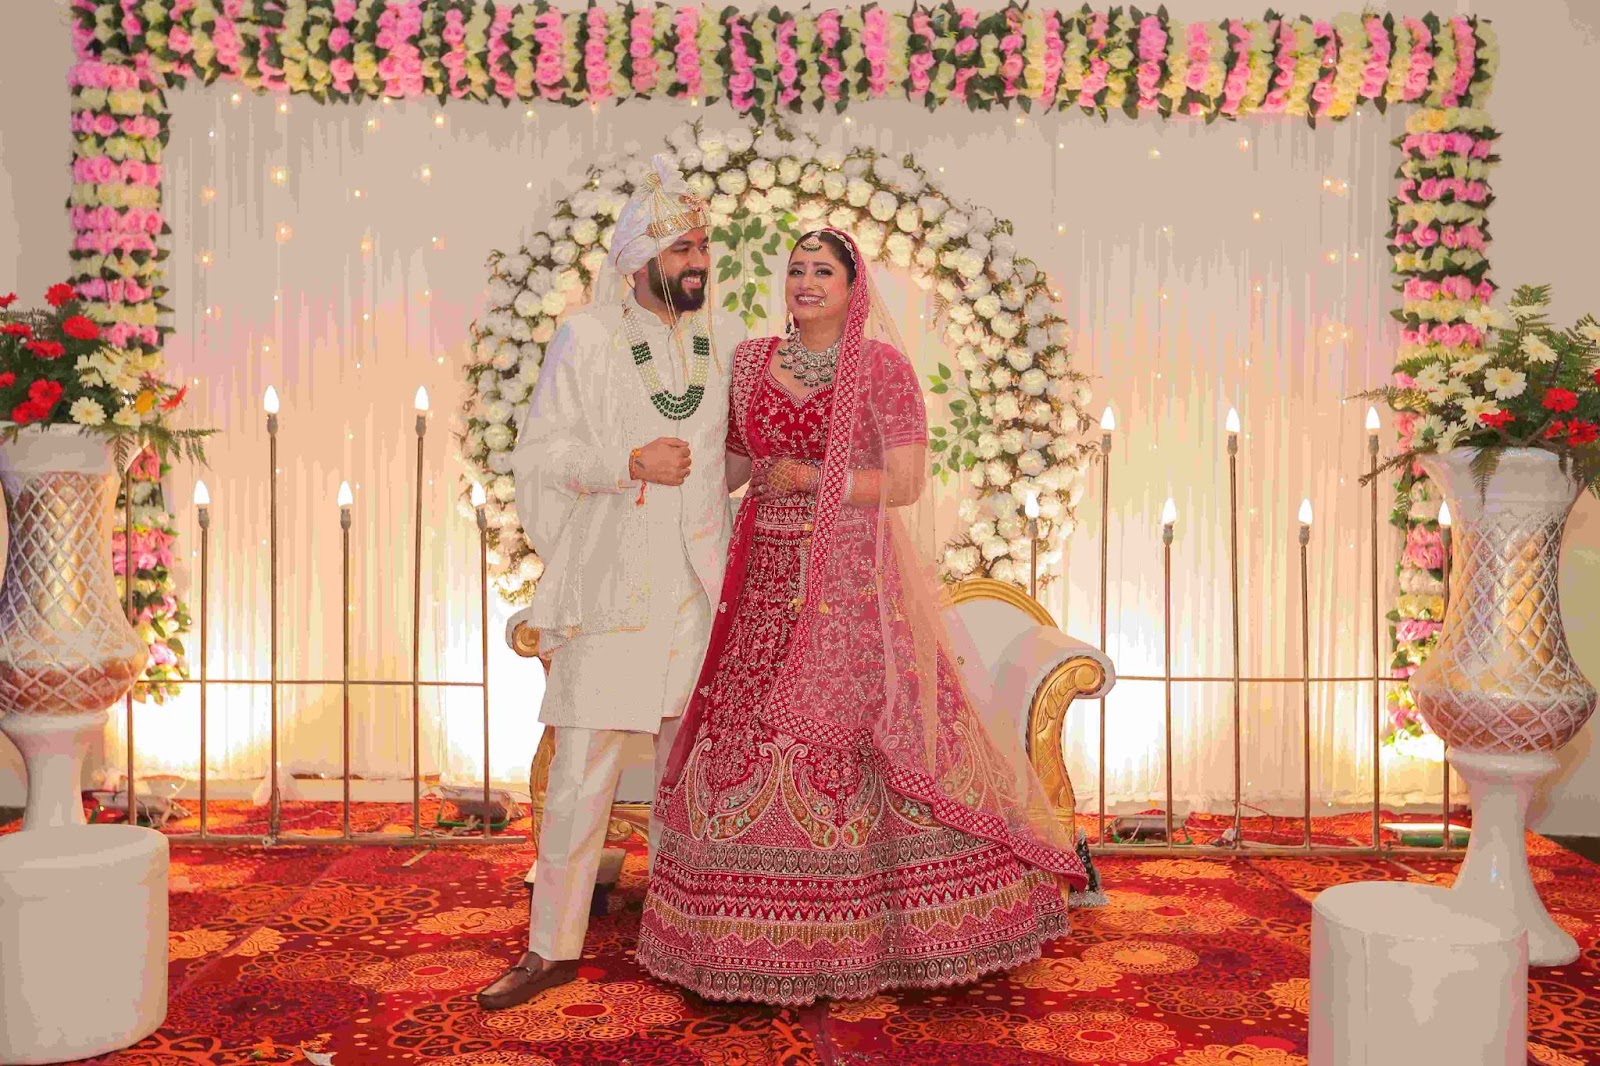
Lighting plays a key role in creating memorable wedding photos. Imagine a couple exchanging vows under a glowing sunset or sharing a moment in the soft light of candles. The right light not only adds depth but also highlights emotions that make each picture special. Natural light from the morning sun or golden-hour rays can bring out the best in outdoor shoots. Indoors, warm lights from chandeliers or fairy lights can create a cozy and inviting atmosphere. To make the most of available light, a photographer must observe how it falls and use it to enhance the scene.
Wedding photography lighting tips can help couples and photographers plan for various settings, from bright open gardens to dimly lit reception halls. Whether it’s balancing light during harsh afternoons or capturing soft shadows indoors, each adjustment makes a difference. Proper lighting can turn simple setups into unforgettable moments.
Connect with VsnapU to discover expert wedding photography lighting tips, and let us help you create timeless photos that reflect your love story.
How to Achieve Perfect Lighting in Wedding Photos
Wedding photography requires optimal lightning to create pictures that seem both classical and genuine to the event. Combining natural light with controlled artificial lighting through careful methods allows photographers to create images that faithfully represent the event’s vitality. Photographers who optimize lighting positions can create beautiful pictures:
Use Natural Light for Daytime Shoots
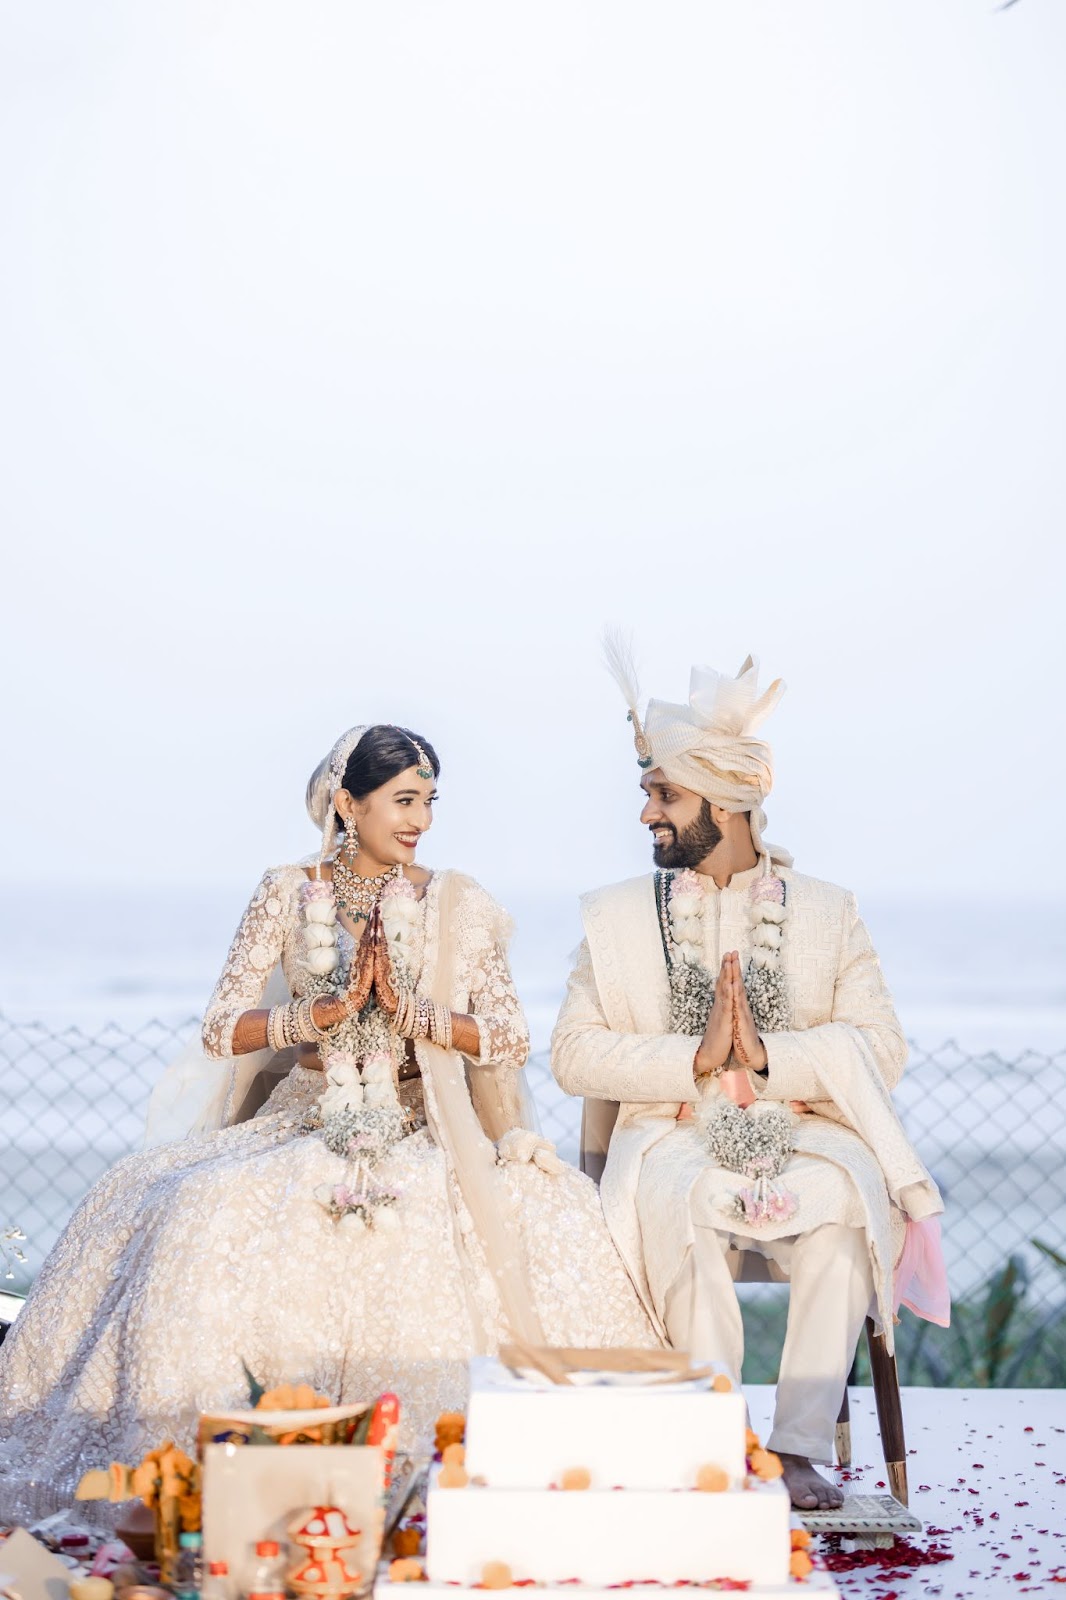
Natural light is ideal for capturing soft, flattering tones during daytime events. Position the couple near windows or under open skies to utilize the natural light. Avoid harsh midday sun by seeking shaded spots, which reduce harsh shadows and create balanced photos. When shooting in natural light, adjust the camera settings to complement the environment and maintain realistic colors.

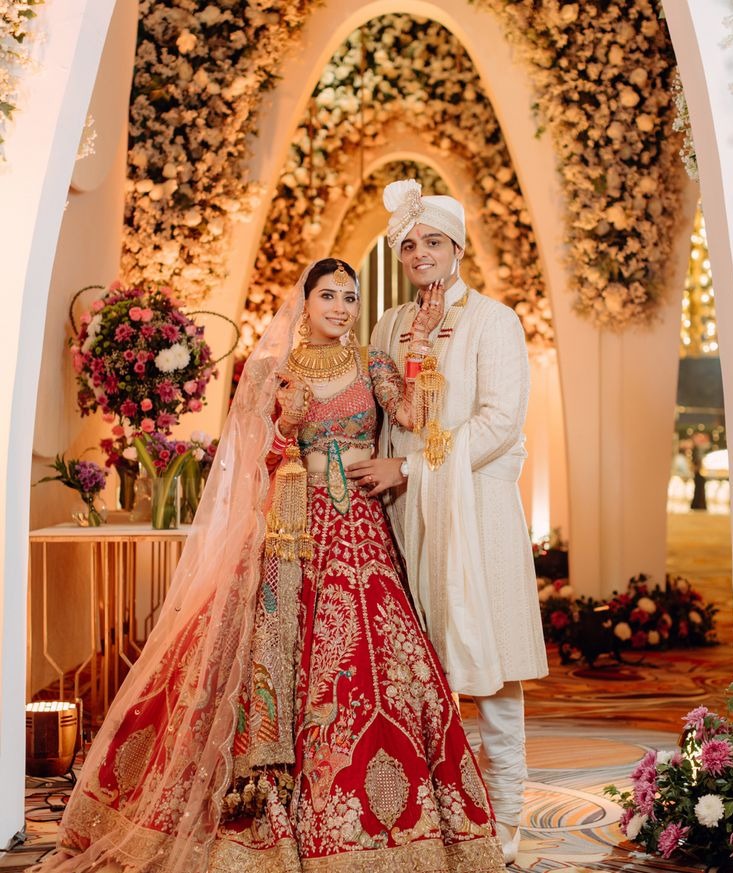
Incorporate Golden Hour for Outdoor Photos
The enchanting dim light of the golden hour, which follows sunrise or precedes sunset, provides warm, delicate light that both beautifies skin and creates enchanting glimmers. Establish visually powerful portrait shots of couples along with group pictures by using this specific time of day. Position the couple with the sun behind them to achieve a dreamy backlit effect or at an angle to add gentle highlights.
Pic credit: Pinterest
Master Indoor Venue Lighting
Indoor venues often have dim or uneven lighting, which can be challenging. Analyze the venue beforehand and identify light sources like chandeliers, spotlights, or natural windows. Combine these with your lighting equipment, such as LED panels or off-camera flashes, to balance brightness and retain details in the photos.
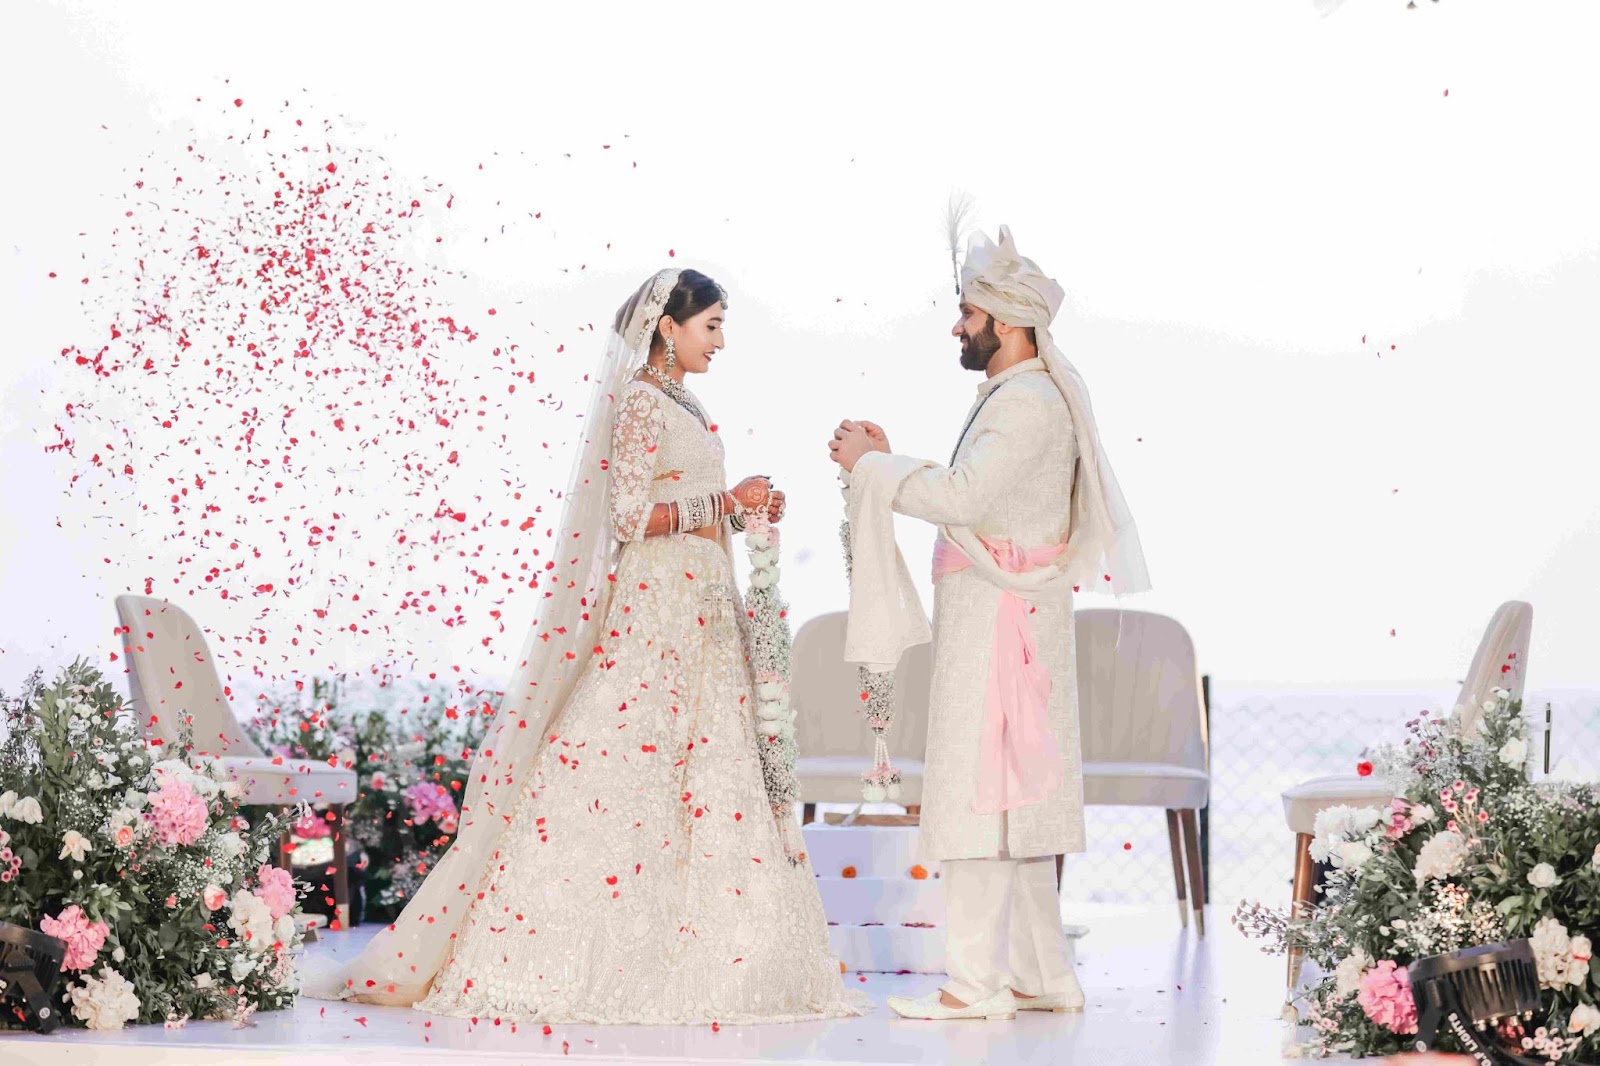
Balance Shadows and Highlights
Maintaining a balance between shadows and highlights creates depth in wedding photos. Protect the couple from excessive exposure during photography by implementing reflectors and too much lights. Halting shadows across facial features during outdoor sessions requires couples to stand against sunlight with their bodies pointed away from its direction. You can use reflected wall light to light-up your frame inside without losing important details.
Adapt to Changing Light Conditions
Wedding schedules can stretch from morning preparations to late-night celebrations, requiring flexibility in lighting techniques. Carry versatile equipment like adjustable LED lights, flash units, and modifiers to handle sudden shifts in lighting. Regularly check exposure settings as the light changes to ensure every moment is captured perfectly, no matter the time of day.

Best Lighting Techniques for Wedding Photography
The quality of wedding shots greatly depends on how well you use lighting elements. The art of positiong diverse lighting types—including both natural light and artificial light defines how well your wedding photographs will turn out. Below are several different approaches to working with light will enhance your wedding photographs.
Pic credit: Pinterest
Static Constant LED Panels
Static constant LED panels supply consistent light for perfect wedding portraits or close-up photography. The equipment provides mobility between setups while maintaining basic setup simplicity and performs well in low-lighting conditions. These panels help photographers avoid shadows and maintain balanced light. They are particularly useful during evening ceremonies or when capturing indoor moments like the first dance or speeches.
Pic refrence: Shutterbug.com
Off-Camera Flash Lighting
When photographers move the flash unit beyond the camera position, they can use this technique to achieve dynamic lighting effects. It works well for low-light receptions, adding depth to images and highlighting details. Off-camera flash lighing is perfect for capturing dynamic moments on the dance floor or enhancing intricate décor shots. By controlling the flash angle, you can create softer shadows or eliminate harsh light.
Pic credit: istockphoto.com
Off-Camera Flash with Softbox
Wedding photographers use softbox attachments to smooth off-camera flashlights while creating a flattering light effect effect. Off-camera flash with softbox creates perfect lighting for bridal portraits, which highlights natural beauty and brightness. Softboxes also help reduce glare and evenly light up group shots. They are a must-have for outdoor shoots where light might be too harsh or uneven.
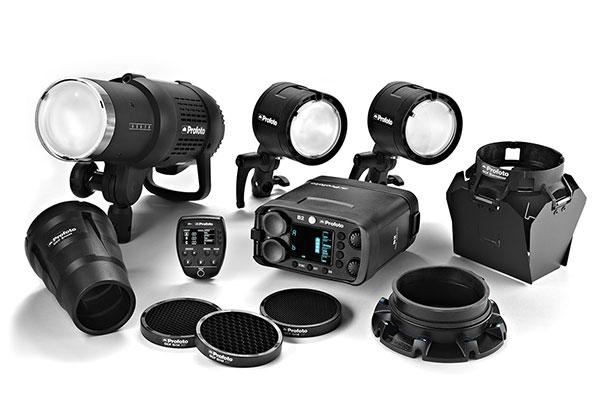
Off-Camera Flash with MagMod
MagMod modifiers offer creative control over light direction and quality. They allow you to add grids, gels, or diffusers to your off-camera flash for dramatic effects. MagMod works wonders during receptions or ceremonies with challenging lighting conditions. Whether it’s enhancing backlighting or adding color to the ambiance, this tool gives your wedding photos a unique edge.
These techniques, paired with the right equipment, ensure wedding photos turn out timeless and vibrant.
Lighting Setup for Stunning Wedding Photos
A properly considered light scheme will transform wedding photographs into beautiful masterpieces. Through various techniques and with specific equipment, photographers can raise mood while focusing on emotions and elevating moment beauty. Evaluating wedding photography requires mastery of basic tips for obtaining professional lighting results.
Use Static LED Lights for Consistency
Static LED lights provide reliable and steady light, which is ideal for capturing well-lit photos during key wedding moments like the ceremony or speeches. These light correct display flickering while enabling immediate adjustments of brightness settings and color temperature changes. You should place stage, dance floor, or altar lights to maintain a lighting plan that enhances the space while avoiding overwhelming amounts of lights.
Create Drama with Off-Camera Flash
By using off-camera flash, photographers can capture images with advanced depth effects. Apply this tool either to emphasize certain guests or bring attention to important wedding elements like the confection and flower decorations. By adjusting the flash angle, you can create striking shadows or spotlight effects that bring a dynamic look to the photos. Pair it with manual settings to maintain full control over the light intensity.
Experiment with Color Gels for Creativity
Color gels allow photographers to add artistic flair to wedding photos. By placing gels over your flash, you can introduce hues like amber for warmth or blue for a cool, moody effect. These can be used to match the wedding theme, create contrast in evening shots, or enhance the look of sparklers during send-offs.
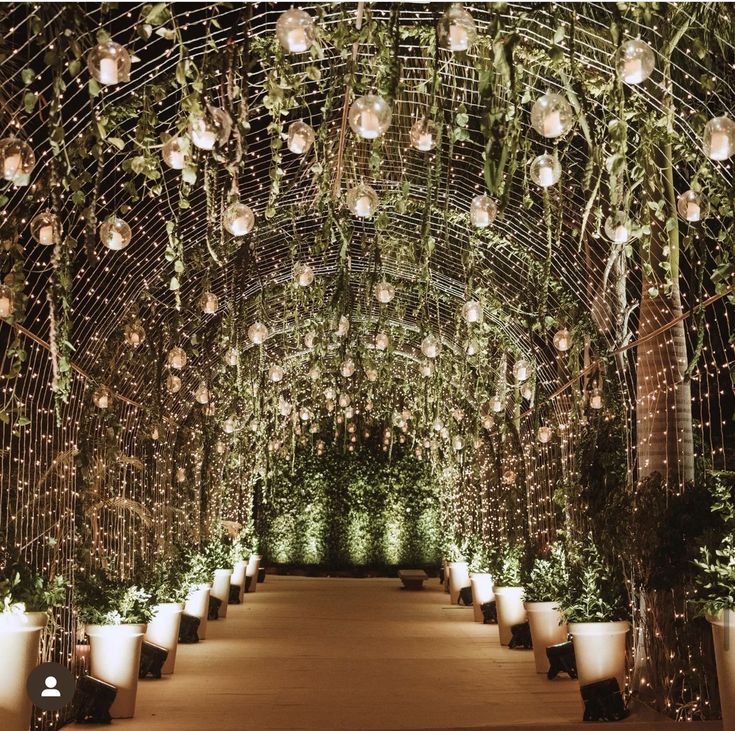
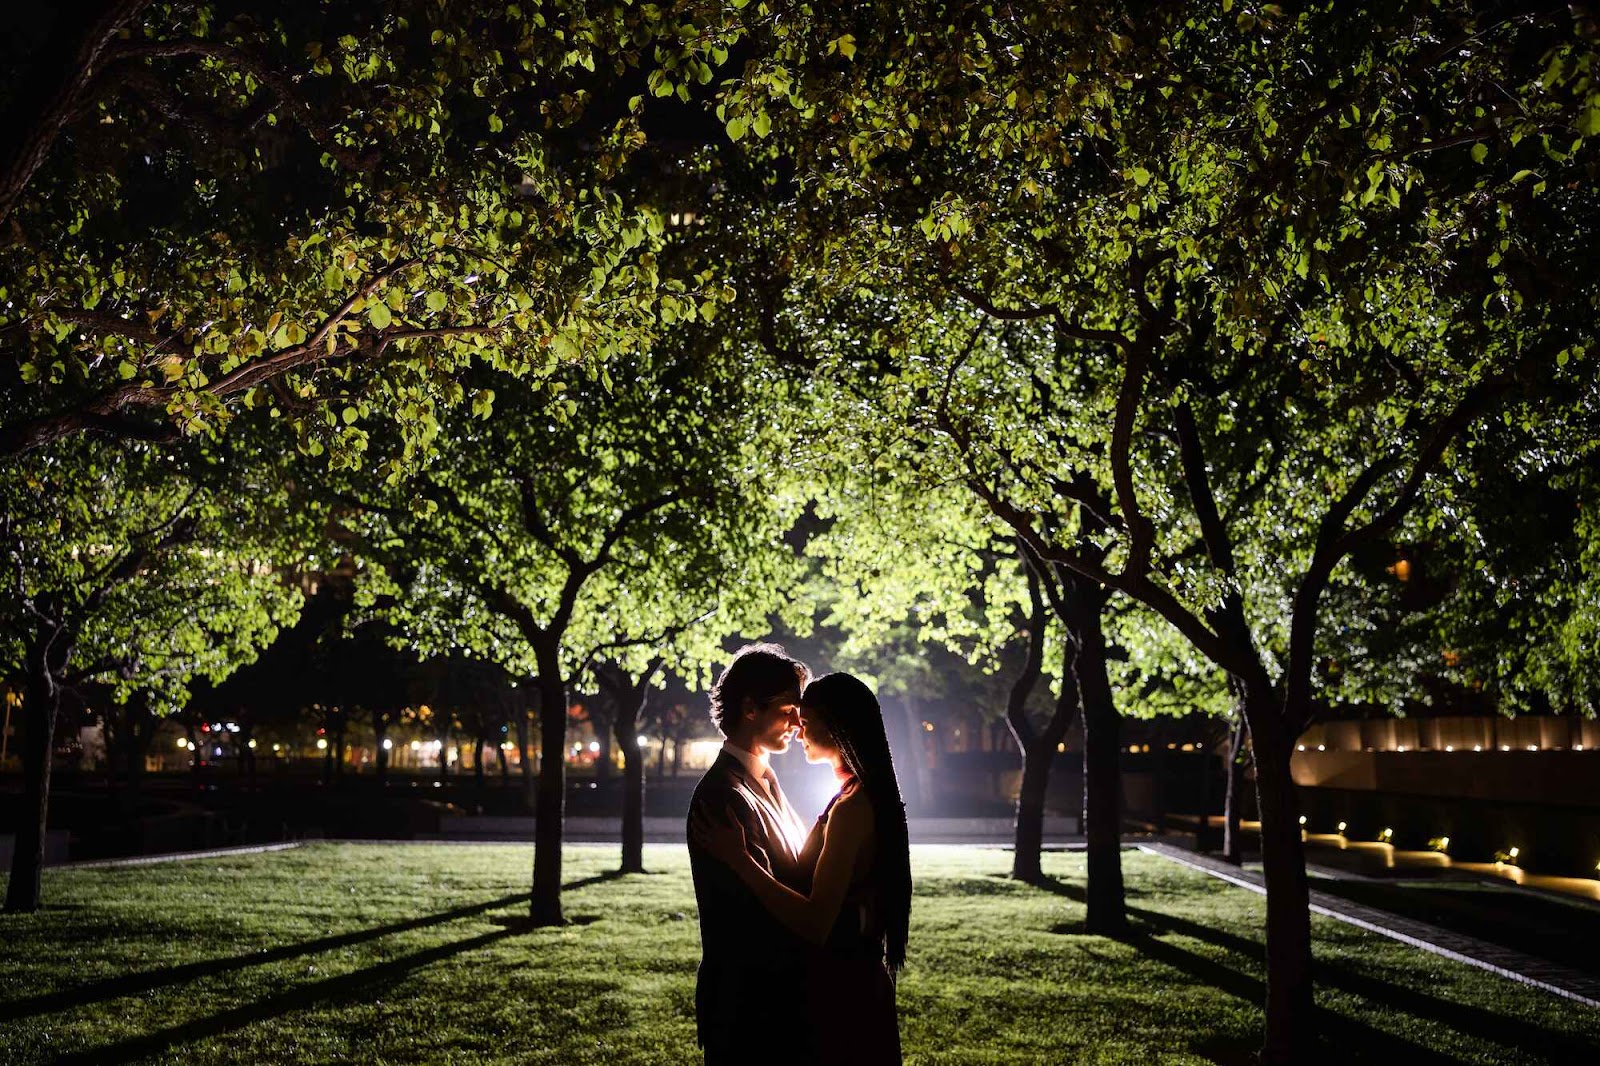
Position Lighting for Backlit Effects
Backlighting is perfect for creating romantic silhouettes and halo effects. Place a light source behind the couple during the golden hour or the first dance to achieve this magical glow. Adjust the exposure settings to balance the light, ensuring that the details in the background and foreground remain clear.
Ensure Proper Lighting for Group Shots
Group photos require even lighting to avoid shadows or uneven tones across the faces. Use large light sources or bounce light off walls or ceilings to spread it evenly. Position the lights slightly above eye level to flatter everyone in the frame. Double-check the angles to ensure no one gets overshadowed or left in the dark.
Timeline Planning – Sunset & Sunrise – Planning Backwards
The best lighting occur when you plan your wedding photo schedule during sunrise and sunset. The different lighting situations during morning and evening create potential major enhancements to your photo atmosphere. Working backward from these moments helps create a well-structured schedule for capturing the best shots.
Sunset: Capturing the Golden Hour
Sunset provides a warm, soft glow that flatters skin tones and adds depth to photos. To make the most of it, schedule outdoor couple shoot during the hour before the sun dips below the horizon. This time, it offers natural backlighting and dreamy silhouettes. Plan the ceremony or main outdoor moments to finish right before this time so your photographer can seamlessly transition into the golden hour session.
Sunrise: Embracing the Fresh Morning Light
Sunrise is ideal for couples who love serene, peaceful settings. The cool, soft light in the early morning creates a calm and romantic atmosphere, perfect for intimate couple shots. The minimal crowd during this time also allows for undisturbed moments at popular locations. Ensure you plan hair and makeup early, and factor in travel time so you’re ready to begin the shoot just as the sun rises.
Conclusion
The proper utilization of lighting stands as a vital element that controls how wedding photos are both photographed and later recalled by memory. Each lighting technique provides essential roles in wedding photography by utilizing natural sunlit scenes combined with colored gels and off-camera flash equipment to showcase wedding beauty throughout the day. Planning the timeline around a golden hour or sunrise adds a magical touch to outdoor photos, while mastering indoor lighting techniques ensures every detail shines, no matter the venue. For group shots, portraits, or dramatic silhouettes, the right lighting setup transforms ordinary scenes into timeless memories.
Wedding photography involves more than taking pictures since it utilizes light to build meaningful stories. By understanding the importance of planning and investing in professional imaging gear, you will create everlasting photographic masterpieces of every Happy wedding moment, including calm morning readiness and evening celebration exuberance.
Make your wedding story unforgettable with VsnapU. Contact our team now to discover how we transform beautiful moments captured in images.
